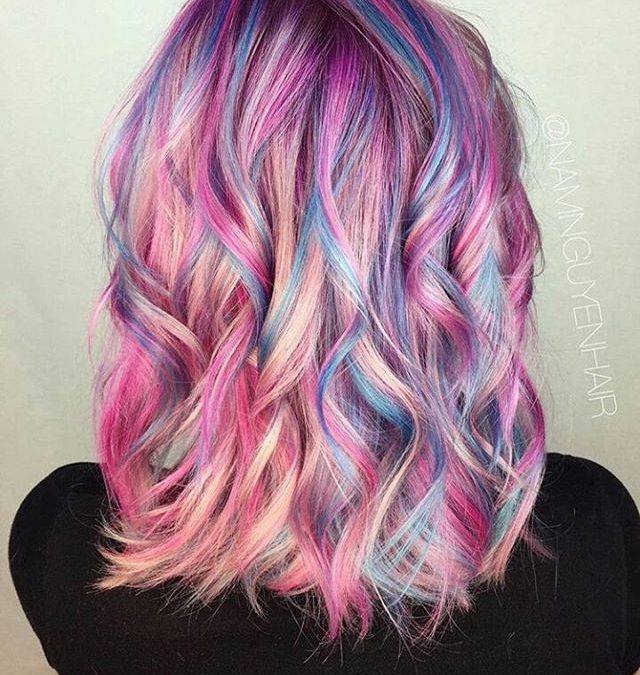
Sunset Hair – Is This The Best Ombre Hair Trend We’ve Seen?
Colourful ombre hair trends just keep popping up, don’t they. It seems like everyone has gone a bit colour mad, sporting just about every colour in the rainbow. The look, once reserved for the misfits, punks, the brave and those looking to make a statement, is now dare I say it, mainstream. I haven’t caved yet but am leaning towards ombre hair involving berry shades like Renew Mulberry and Burgundy worked into my naturally dark hair. We’ve seen everything from tie-dye hair and cherry bombre to mermaid hair. Yet sunset hair is simultaneously edgy and one of the most romantic statement hair trends I’ve seen. DIY Ombre Hair At Home It’s not just about red hair colour The Sunset hair trend involves creating ombre hair using all the shades of breathtaking tropical sunsets, or combining the shades in your own unique way. This means berry tones, coppers, blondes and yes, all manner of reds all fit in with the trend. Typically, the look starts dark at the roots, however, I don’t think there are any rules. In whatever order you choose to apply the colours, the result is simply stunning. The trend originated sometime last year and while it started out as something fun to do with hair chalk or was simply added to hair lengths it has evolved into full-blown vibrant coifs from root to ends. You only need to search Instagram to witness just how the sunset hair trend has snowballed. Even the celebs have embraced this addition to the colourful hair craze. Lily Allen’s Sunset hair transformation is one that saw much admiration from the beauty...
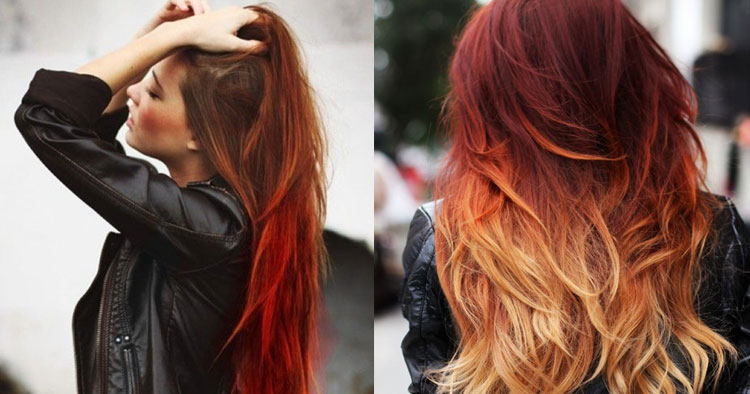
Ombre Hair Colour Is A Definite Must Have This Season
Ombre hair colour is almost like embracing your hair’s natural regrowth, blending a darker colour from your roots to a lighter colour that extends to the tips of your hair. Pairing a dark shade of brown with platinum blonde – creating a caramel-dip effect – has been one of the most popular ombre looks, as seen on Khloé Kardashian When South African singer, Tailor, first rose to fame she was also sporting the caramel-dip look. She later traded the blonde for blue, proving that vivid colours can look just as effective as part of the ombre hair colour. When used with more natural colours, like shades of blonde and brown, the ombre dipping technique can look both glamorous and sophisticated. If you feel like defying convention for a more fun and adventurous look, there is also the trend of bleaching the roots and using dipping colours that pop, like pink, green, purple and blue. Celebrities like Christina Aguilera have tried this look. The trend in ombre hair colour is evolving, and now women are opting for a more subtle look. This tortoiseshell look can be achieved by pairing a richer and slightly darker version of your hair with subtly blended highlights that will give your hair the overall look of being sunkissed. Actress Drew Barrymore has opted for this look, which suits her skin tone perfectly. If you think ombre hair colour is for you, do yourself a favour and check out Renew’s fabulous selection of hair dyes. Whether it’s the caramel-dip effect you’re after, or the more sombre ombre, you can get the look you want for...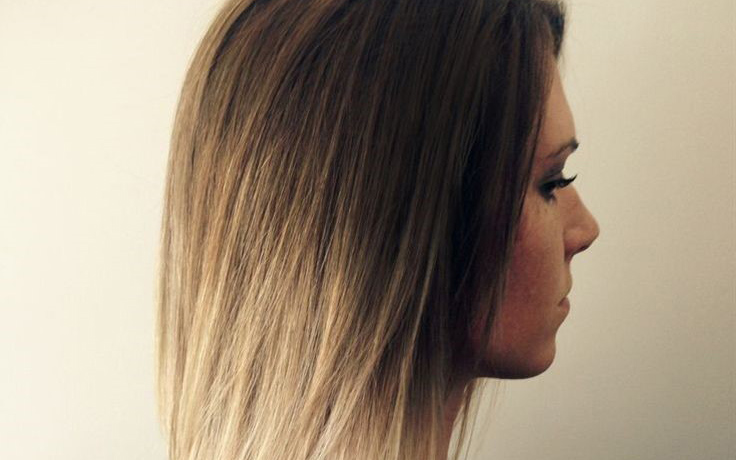
At Home Hair Makeover: Achieving Ombre
This hair trend’s end has been difficult to predict and is still being paraded by the hottest celebs. Achieving the Ombre look doesn’t need a pricey salon trip, you can easily get great results at home with these steps for Ombre DIY. Start by deciding what look you are going for. Choose either a dramatic look with very light ends or a subtle gradient with tones similar to your hair colour. Ombre doesn’t have to mean blonde. You can Ombre in just about any colour you choose. Look for a hair dye that already has bleach in it to save yourself the extra step. You could also use a highlight kit that will lighten up darker hair with ease, minus the brassy tones. Section your hair into two, top and bottom. A great way to know where to start your Ombre DIY application is to use your mouth as a starting point. Apply the hair dye from the hair around this area and downwards. A simple way to blend edges and make sure you don’t end up with blocks of colour is to scrunch and rub upwards. Or, use a comb to brush the dye upwards at the edges. Use foil to wrap your hair segments as you go to prevent them from drying out. This will also help stop the colour from developing unevenly. After washing out your first section, move on to the ends of your hair for the final application. Do it in the same way but leave the colour on for longer since you want to achieve a lighter colour on the ends. Try highlighting...